

Choosing the right window blinds and window shades can improve privacy, light control, comfort, and style in Canadian homes. This guide explains popular window treatments, key installation factors, and practical tips to help homeowners decide between DIY and professional blind installation or shade installation.
Why Window Blind and Shade Installation Matters in Canadian Homes
Window blinds and window shades do much more than finish a room. In Canadian homes, they help manage sunlight, improve privacy, support energy efficiency, and add a polished look to interior spaces. The right window coverings can make a bedroom feel more restful, a living room more comfortable, and a home office easier to use throughout the day.
Because Canada has changing seasons, homeowners often need window treatments that work well in both summer and winter. In warmer months, strong sunlight can overheat a room and fade furniture. In colder months, properly fitted window shades or blinds can add another layer between the glass and the room, helping support indoor comfort. While blinds and shades are not a replacement for quality windows, they are useful window accessories that improve day-to-day living.
If your existing windows are drafty, damaged, or difficult to open, it may also be worth looking into expert window repair before installing new coverings. A smooth, secure window frame helps ensure better fit, performance, and long-term results.
Main Benefits of Modern Window Treatments
Today’s window blinds and window shades are designed for both function and style. Homeowners can choose from many materials, colours, and operating systems to match their needs. Some of the main benefits include:
Privacy solutions for everyday living
Privacy is one of the biggest reasons people invest in window coverings. Street-facing rooms, bathrooms, bedrooms, and basement windows often need better coverage. Window shades can provide soft, full coverage, while blinds allow you to adjust slats for a balance of privacy and visibility.
Better light control
Light control is especially important in rooms with direct sun exposure. Adjustable window blinds let you tilt slats to reduce glare without fully darkening the room. Shade installation can also help, especially with blackout or light-filtering fabrics. This is useful in nurseries, media rooms, and bedrooms where too much morning sun can be a problem.
Style and interior design value
Window treatments can tie a room together. Clean roller shades suit modern spaces, while wood or faux-wood blinds fit traditional and transitional interiors. Well-chosen window accessories can support your overall interior design plan without requiring a complete renovation.
Improved comfort and efficiency
Although blinds and shades are mainly decorative and functional, they can also support indoor comfort by reducing harsh sunlight and limiting heat gain. In some homes, this can help ease the load on cooling systems during summer afternoons.
Why Proper Installation Makes a Difference
Even high-quality window blinds or shades can look poor if they are not installed correctly. Crooked brackets, uneven spacing, and inaccurate measurements can affect both appearance and function. Blind installation and shade installation require attention to detail, especially for inside-mount products where every millimetre counts.
Professional installers also understand how different wall materials, trim styles, and window depths affect the final result. In some cases, homeowners discover that their windows are not perfectly square, which can make DIY work more challenging. For support with broader upgrades, many homeowners explore window installation services when planning a full refresh.
Choosing the Right Window Blinds and Window Shades
Before booking blind installation or starting a DIY project, it helps to understand the main types of window coverings available. The best option depends on your room, your privacy needs, and how much light control you want.
Popular Types of Window Blinds
Venetian blinds
These are one of the most common window blinds in Canadian homes. They feature horizontal slats that can be tilted open or closed. They are practical, versatile, and available in aluminum, vinyl, wood, and faux wood.
Vertical blinds
Vertical blinds work well on large windows and patio doors. They are often used in condos, family rooms, and spaces with wide glass openings. They offer good light control and are relatively easy to maintain.
Faux-wood blinds
Faux-wood products are a popular choice for kitchens, bathrooms, and humid areas because they resist moisture better than real wood. They also provide a warm, classic look that suits many interior design styles.
Popular Types of Window Shades
Roller shades
Roller shades are simple, clean, and ideal for modern homes. They come in blackout, solar, and light-filtering options, making them one of the most flexible privacy solutions available.
Cellular shades
Also called honeycomb shades, these window shades are known for their energy-efficient design. Their pocketed structure can help reduce heat transfer, which is useful in many Canadian climates.
Roman shades
Roman shades bring a softer, more decorative look. They are often chosen for bedrooms, dining rooms, and formal living spaces where appearance matters as much as function.
Zebra or dual-layer shades
These combine alternating sheer and solid bands to offer flexible light control. They are stylish and practical, especially in newer homes where homeowners want a sleek, updated finish.
How to Match Window Treatments to Each Room
Different rooms often need different window coverings. A one-size-fits-all approach does not always give the best results.
Bedrooms
Bedrooms usually benefit from stronger privacy solutions and better light blocking. Blackout window shades are a smart option for shift workers, children, and anyone sensitive to early sunrise.
Bathrooms
Bathrooms need privacy, moisture resistance, and easy cleaning. Faux-wood blinds or moisture-resistant shades are often a better choice than fabric-heavy products.
Living rooms
Living rooms often need a mix of style and flexibility. Homeowners may want sunlight during the day but reduced glare in the evening. This is where adjustable blinds or layered window treatments can work well.
Home offices
For offices, glare reduction is key. Shades that soften daylight without making the room too dark can improve screen visibility and comfort during work hours.
If you are unsure which products suit your space, browsing home improvement services can help you understand how window upgrades fit into larger home projects.
What to Know Before Blind Installation or Shade Installation
Good planning helps avoid common mistakes. Whether you plan to install window blinds yourself or hire a professional, these factors matter.
Measure Carefully Before Ordering
Accurate measurements are the foundation of successful blind installation and shade installation. Homeowners need to decide between inside mount and outside mount before measuring.
Inside mount
This style fits within the window frame for a clean, built-in look. It works best when the frame has enough depth and is reasonably square. Precise measuring is essential.
Outside mount
This style is installed above or around the frame. It can make a window appear larger and is useful when the frame is shallow or uneven. It also improves privacy and light blocking because it covers more area.
Think About Safety and Local Standards
In Canadian homes, safety is especially important when choosing window accessories for spaces used by children and pets. Cordless products are now a preferred option in many households because they reduce hazards and create a cleaner look. Homeowners should also follow product instructions and applicable Canadian safety guidance when selecting and installing window treatments.
Consider the Condition of the Window Area
Loose trim, cracked drywall, or damaged frames can make installation harder and reduce long-term stability. Before adding new window coverings, inspect the surrounding area for issues that may need repair. If you want advice tailored to your property, you can contact our team for practical guidance on windows, fittings, and related home upgrades.
With the right product, proper measurements, and a clear plan, window blinds and window shades can become one of the most useful and attractive upgrades in a home. They support privacy, improve light control, and add value to interior design while making everyday spaces more comfortable for Canadian homeowners.
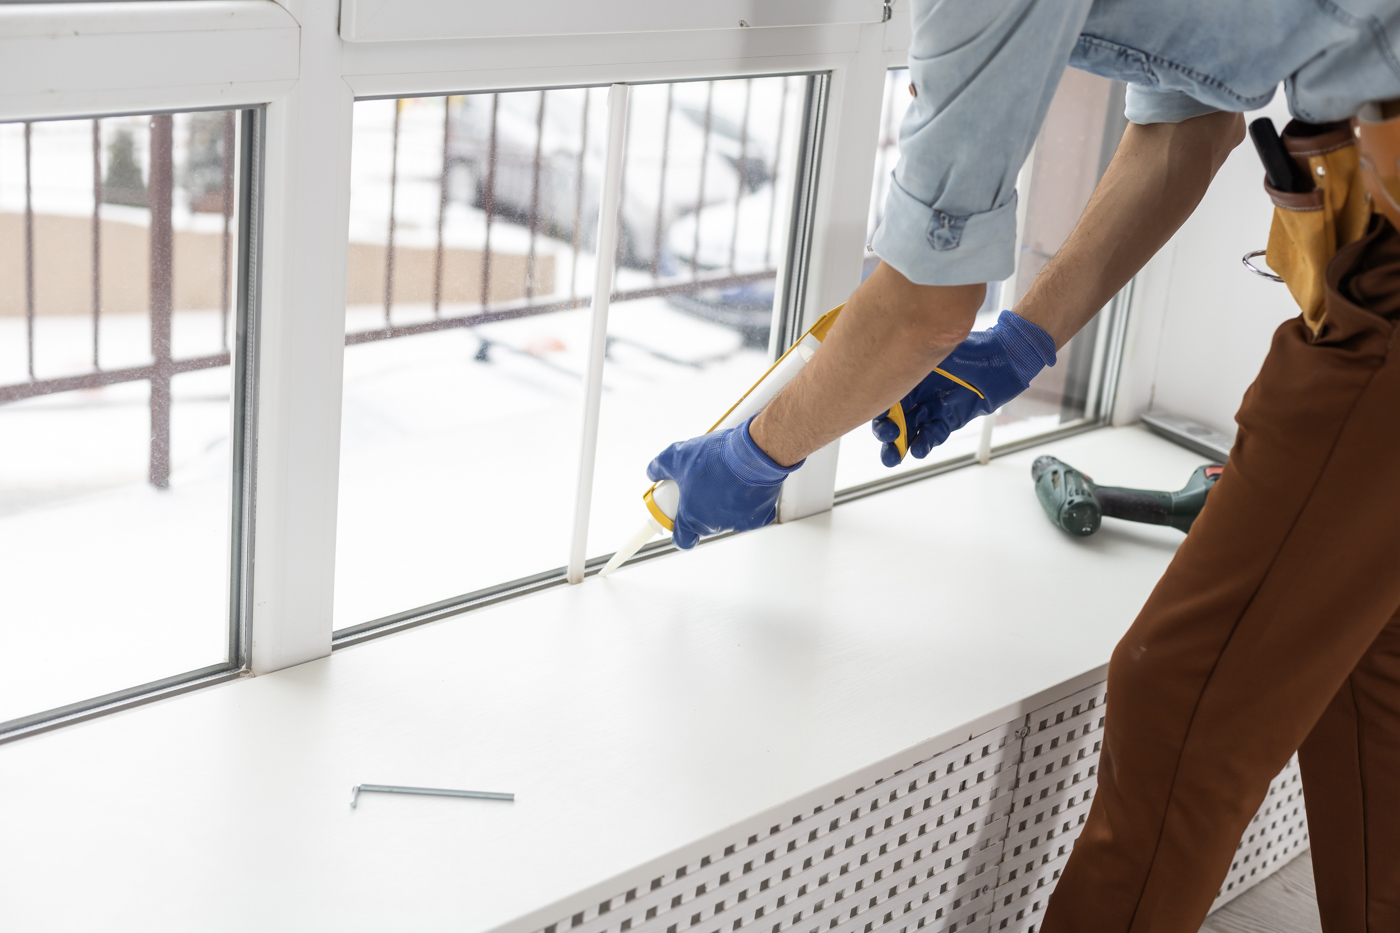
DIY vs Professional Window Blind and Shade Installation
Many Canadian homeowners ask the same question before buying new window blinds or window shades: should you install them yourself, or hire a professional? The answer depends on the type of product, the condition of the window area, and how comfortable you are with measuring, drilling, levelling, and making small adjustments.
Some projects are straightforward. A basic roller shade on a standard bedroom window may be manageable for a careful DIY homeowner. Other projects are more demanding, especially if you are dealing with large windows, layered treatments, motorized systems, concrete or plaster walls, or uneven frames in an older home. In those situations, professional blind installation or shade installation can save time, reduce mistakes, and help you get a cleaner final look.
It is also important to think beyond the covering itself. If the surrounding frame, trim, or glass has issues, installation may not go smoothly. If you need expert window repair before adding new coverings, taking care of that first can help protect your investment and improve long-term performance.
When DIY Installation Can Make Sense
DIY blind installation or shade installation can work well when the window opening is standard, the wall surface is easy to drill into, and the product comes with clear instructions. Homeowners who already own a level, drill, measuring tape, stud finder, and basic hand tools may feel comfortable handling a simple project.
Best situations for DIY
DIY may be a reasonable choice if:
- You are installing one or two small window coverings
- The windows are modern, square, and in good condition
- You are using a simple inside-mount or outside-mount design
- You have done similar home improvement work before
- You are comfortable making precise measurements
Benefits of doing it yourself
The biggest reason homeowners choose DIY is cost savings on labour. It can also be convenient if you want to complete the work on your own schedule. For smaller projects, DIY installation can feel rewarding and practical.
Common DIY risks
The challenge is that window treatments need to be aligned properly to look and function well. Even a small measuring error can result in blinds that rub against the frame, shades that do not roll smoothly, or visible gaps that reduce privacy. Uneven brackets can also make a product wear out faster.
Another issue is that older Canadian homes are not always perfectly square. A window frame may look straight at first glance but still vary slightly from top to bottom. That can create problems for inside-mount products, especially cellular shades, zebra shades, and custom blinds.
When Professional Installation Is the Better Choice
Professional installation is often the better option when appearance, reliability, and long-term value matter most. A trained installer knows how to work with different frame depths, trim profiles, wall materials, and product types. They can also spot hidden issues before they become expensive mistakes.
Projects that benefit from a professional
Professional blind installation or shade installation is strongly recommended when:
- You are covering many windows at once
- You chose custom-sized window blinds or window shades
- You want motorized or smart-home-connected systems
- You are installing treatments on large windows or patio doors
- Your home has plaster, tile, masonry, or delicate trim
- The windows are older, uneven, or recently repaired
Why professional results often look better
Professionals are used to fine-tuning spacing, centring hardware, and adjusting products so they open and close properly. This is especially important in visible rooms such as living rooms, dining rooms, and front-facing bedrooms, where uneven blind installation can affect the whole look of the space.
Homeowners planning a larger upgrade often coordinate window coverings with frame replacement, trim updates, or window installation services. Doing the work in the right order can help avoid extra patching, remeasuring, or reinstallation later.
Cost Considerations: Short-Term Savings vs Long-Term Value
At first, DIY may appear to be the lower-cost option. However, the total cost should include more than the purchase price of the blinds or shades. If you mismeasure a custom order, damage the wall, crack trim, or install brackets incorrectly, the corrections can quickly add up.
Costs that homeowners sometimes overlook
- Special drill bits or anchors for masonry, tile, or metal
- Replacement hardware after drilling mistakes
- Wall patching and paint touch-ups
- Reordering custom products due to measurement errors
- Time spent troubleshooting fit and alignment issues
Professional installation may cost more up front, but it can offer better value if it helps you avoid waste and get a more polished result. This is particularly true in homes where each room has different needs, or where the windows are part of a broader improvement plan involving doors, trim, or structural updates.
Step-by-Step Installation Tips for Better Results
Whether you plan to take the DIY route or simply want to understand the process before hiring help, it is useful to know what proper blind installation and shade installation involve. A good installation follows a clear sequence: measure, prepare, mark, mount, test, and adjust.
Step 1: Confirm the Mount Type
Before doing anything else, confirm whether the product is meant for inside mount or outside mount. This affects both the measurements and the final look.
Inside-mount basics
Inside-mount window blinds and window shades sit within the frame. They look neat and built-in, but they require enough depth for the brackets and headrail. They also leave less room for error, so measurements need to be exact.
Outside-mount basics
Outside-mount products are attached above or around the frame. They are useful when the window opening is shallow, the frame is uneven, or better light blocking is needed. They can also make a small window appear taller or wider.
Step 2: Measure More Than Once
Accurate measuring is one of the most important parts of the job. Do not rely on a rough estimate or old builder dimensions. Measure the width and height carefully, and check in more than one place.
Measuring tips for inside mount
- Measure width at the top, middle, and bottom
- Measure height at the left, centre, and right
- Use the narrowest width if the manufacturer recommends it
- Use the longest height if required for full coverage
- Check frame depth before ordering
Measuring tips for outside mount
- Decide how much overlap you want on each side
- Allow extra coverage above the frame if you want to reduce light gaps
- Make sure the mounting surface is solid and level
If your windows have unusual trim, decorative casings, or signs of movement in the wall, it may be worth getting a professional opinion. In some homes, what looks like a simple blind installation can reveal deeper frame issues that should be addressed first through broader doors and windows services.
Step 3: Gather the Right Tools
Using the right tools helps prevent damage and improves accuracy. For most installations, homeowners may need:
- Measuring tape
- Pencil
- Level
- Drill and bits
- Screwdriver
- Stud finder if needed
- Wall anchors suited to the surface
- Step ladder
Do not assume the hardware included with a product is right for every wall type. Drywall, wood, tile, and concrete all require different approaches. This matters in many Canadian basements and older homes where surfaces vary from room to room.
Step 4: Mark Bracket Locations Carefully
Once the measurements are confirmed, mark the bracket locations lightly with a pencil. Use a level to make sure both sides are aligned. If one bracket sits even slightly higher than the other, the shade or blind may hang unevenly or operate poorly.
Why alignment matters
Proper alignment affects:
- Smooth raising and lowering
- Even stacking or rolling
- Balanced appearance from inside and outside
- Reduced wear on cords, mechanisms, and fabric
Step 5: Drill Pilot Holes and Install Brackets
Pilot holes help guide screws and reduce the risk of cracking trim or stripping fasteners. After drilling, secure the brackets firmly but avoid overtightening. If the bracket feels loose, stop and reassess the anchor or mounting surface before continuing.
For heavy window blinds, wide headrails, or motorized shades, proper support is especially important. Large products can place extra stress on the hardware over time, particularly in sunny rooms where repeated heating and cooling can affect materials.
Step 6: Mount the Blind or Shade and Test Operation
After the brackets are secured, attach the blind or shade according to the product instructions. Then test it several times. Raise it, lower it, tilt the slats if applicable, and confirm that it moves smoothly without catching.
What to look for during testing
- Even spacing on both sides
- Fabric rolling straight
- Slats tilting evenly
- No rubbing against trim or frame
- Secure locking or stopping points
If something feels off, do not ignore it. Small issues often become bigger problems after daily use. A slight tilt today can become a damaged mechanism later.
Step 7: Finish the Details
Once the product is working properly, complete the final details. This may include installing valances, safety clips, hold-down brackets, or finishing caps. Wipe away pencil marks and dust, and check the room from different angles to confirm the treatment looks centred and balanced.
These finishing steps may seem minor, but they make a big difference in the overall appearance. A professionally finished installation usually looks cleaner because every detail is checked.
Common Problems Homeowners Face After Installation
Even after a window covering is installed, some homeowners run into issues with fit, function, or durability. Knowing the common problems can help you avoid them or fix them early.
Uneven Hanging or Crooked Appearance
This is one of the most frequent complaints after DIY blind installation. It usually happens because the brackets were not level, the frame was measured incorrectly, or the window opening itself is slightly out of square.
How to reduce the risk
- Measure multiple points before ordering
- Use a level during bracket placement
- Do not rely only on the window trim as a visual guide
Light Gaps Around the Edges
Light gaps are common with inside-mount shades, especially blackout products. Even blackout fabric cannot block all light if there is open space at the sides. This is not always an installation mistake, but it should be understood before purchase.
Ways to improve light blocking
- Choose outside mount for bedrooms
- Add side channels if available
- Select a product designed for room darkening
- Increase overlap around the frame
Difficulty Raising or Lowering the Product
If a shade sticks, rolls unevenly, or feels stiff, the problem may be with bracket alignment, tension settings, or the mounting surface. In some cases, the product itself may be defective. In others, the headrail may be slightly twisted because one side is pulling more than the other.
This is why proper testing right after installation is so important. It is easier to correct a bracket position immediately than after weeks of use.
Loose Hardware Over Time
Loose screws or shifting brackets can happen when the mounting surface is weak or the wrong anchors were used. This is more common in drywall-only installs, older plaster walls, or high-use areas such as kitchen windows and patio doors.
Prevention tips
- Use anchors suited to the wall type
- Do not overtighten screws into weak material
- Check large or heavy blinds periodically
- Reinforce the mounting point if necessary
Moisture and Temperature Effects
Canadian weather can affect indoor conditions more than many homeowners realize. Bathrooms, kitchens, and sun-facing rooms may experience higher humidity or stronger temperature swings. Some materials handle this better than others.
Better choices for challenging spaces
- Faux-wood blinds for humid rooms
- Moisture-resistant roller shades for bathrooms
- UV-resistant fabrics for bright windows
- Cellular shades for added comfort in colder climates
If your windows show condensation, drafts, or difficulty opening, the issue may be more than a window covering problem. In that case, it may be wise to address the window unit itself before replacing the blinds or shades.
Design, Maintenance, and Long-Term Value
Window blind and shade installation is not only about getting the product onto the wall. It is also about choosing options that suit your home over time. Good window treatments should support your daily routine, fit your design style, and remain easy to maintain through changing seasons.
How Window Treatments Affect Interior Design
Window coverings have a strong visual impact because they sit at eye level and frame natural light. The right choice can make a room feel taller, brighter, warmer, or more finished.
Design tips that work in many Canadian homes
- Use outside-mount shades higher above the frame to make ceilings feel taller
- Choose light colours to keep smaller rooms feeling open
- Use darker tones where you want contrast and depth
- Match hardware finishes to nearby fixtures for a coordinated look
- Keep treatments simple in busy rooms with patterned flooring or furniture
In condos and urban homes across Toronto, Markham, Brampton, Hamilton, Kitchener, and Barrie, clean-lined roller shades and zebra shades are often popular because they suit modern interiors and do not take up much visual space. In larger detached homes, homeowners may prefer layered looks that combine practical window shades with decorative drapery.
Choosing Between Blinds and Shades for Long-Term Use
Blinds and shades both offer valuable benefits, but they behave differently over time. Your choice should reflect how you use the room, how much maintenance you want, and how often the treatment will be adjusted.
Why some homeowners prefer blinds
Window blinds are often chosen for their flexible light control. You can tilt the slats to reduce glare while still allowing in daylight. This makes them practical for living rooms, kitchens, and offices.
Why some homeowners prefer shades
Window shades provide a softer, cleaner look. They are often preferred in bedrooms, nurseries, and modern spaces where homeowners want smooth lines and full fabric coverage.
What to consider before deciding
- How much privacy you need during the day and night
- Whether glare control or blackout performance matters more
- How often children or pets use the room
- How easy the material is to clean
- Whether the room has moisture, grease, or heavy sunlight
Maintenance Tips to Protect Your Investment
Once your blind installation or shade installation is complete, regular care can help extend the life of the product. Maintenance does not need to be difficult, but it should be consistent.
Basic cleaning for blinds
- Dust slats with a microfibre cloth or vacuum brush attachment
- Spot clean with a damp cloth if the material allows
- Avoid soaking wood blinds or using harsh cleaners
- Check cords, wands, and tilt mechanisms for wear
Basic cleaning for shades
- Use a vacuum with a soft brush attachment
- Blot stains gently instead of rubbing
- Follow manufacturer care instructions for fabric products
- Keep roller mechanisms free of dust build-up
Seasonal maintenance ideas
In spring and fall, inspect your window coverings while doing general home maintenance. Check that brackets are still secure, fabrics are rolling evenly, and there is no moisture damage near the frame. This is also a good time to look for signs that the window itself may need service.
In some cases, homeowners discover that poor operation is linked to damaged trim, shifting frames, or older hardware around the opening. If nearby entry points also show wear, some households combine window updates with professional door installation services to improve comfort, security, and curb appeal at the same time.
Smart and Motorized Options for Modern Homes
Motorized window shades are becoming more common in Canadian homes, especially in new builds, condos, and renovated main floors with large windows. They offer convenience, a clean cordless appearance, and easier control for hard-to-reach windows.
Benefits of motorized systems
- Simple operation with remote, wall switch, or app
- Better accessibility for tall or wide windows
- Cleaner appearance with fewer visible cords
- Scheduling options for privacy and sunlight control
